Notebook Recipe
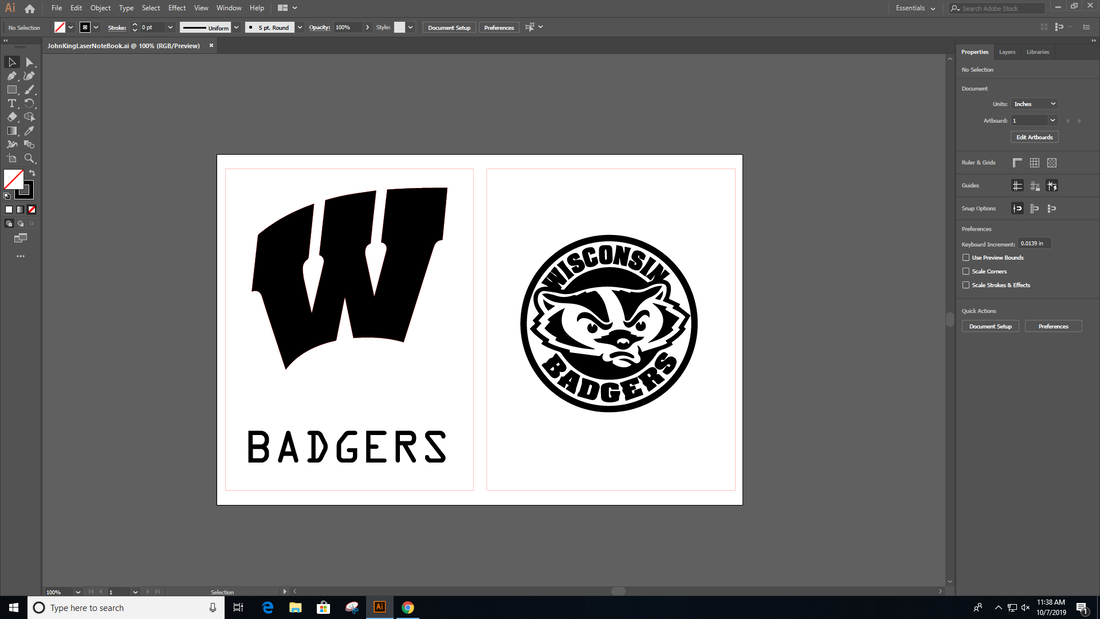
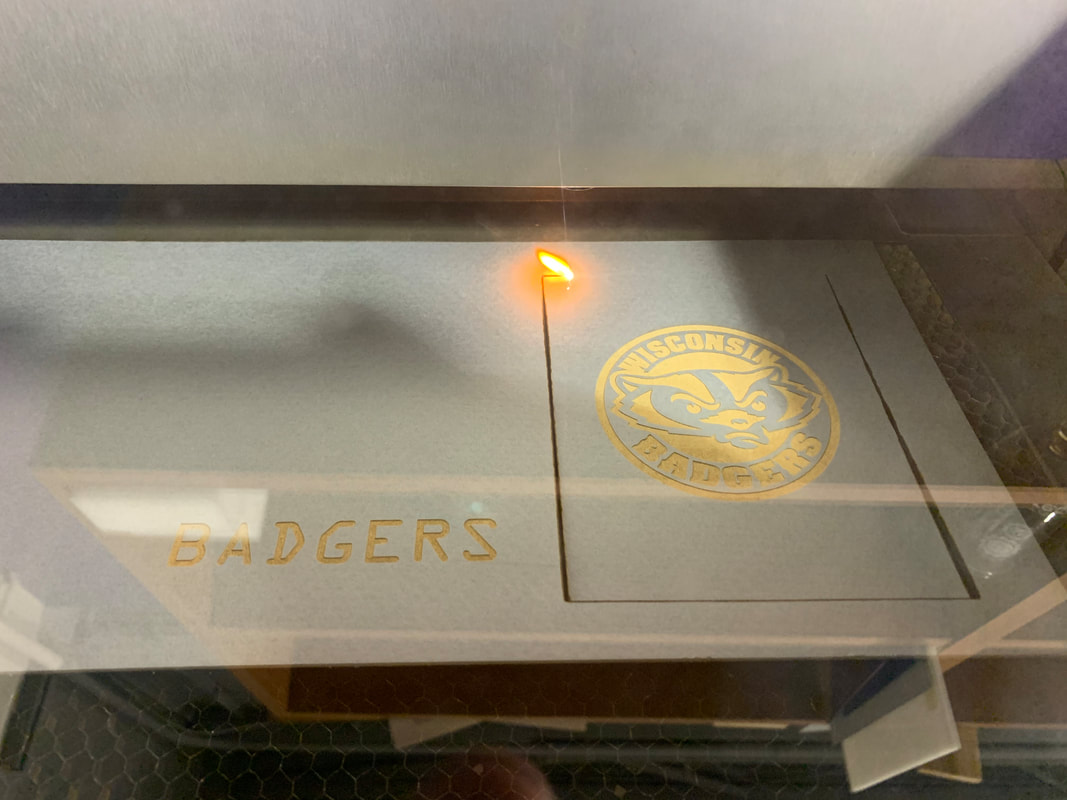
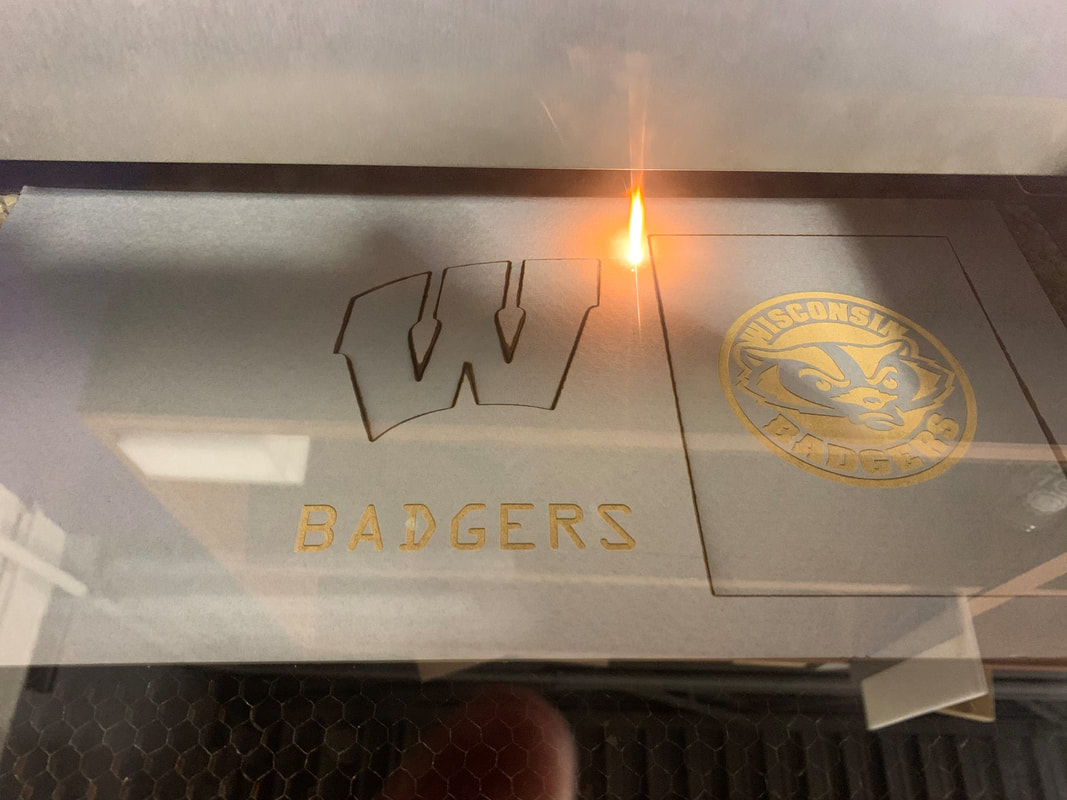
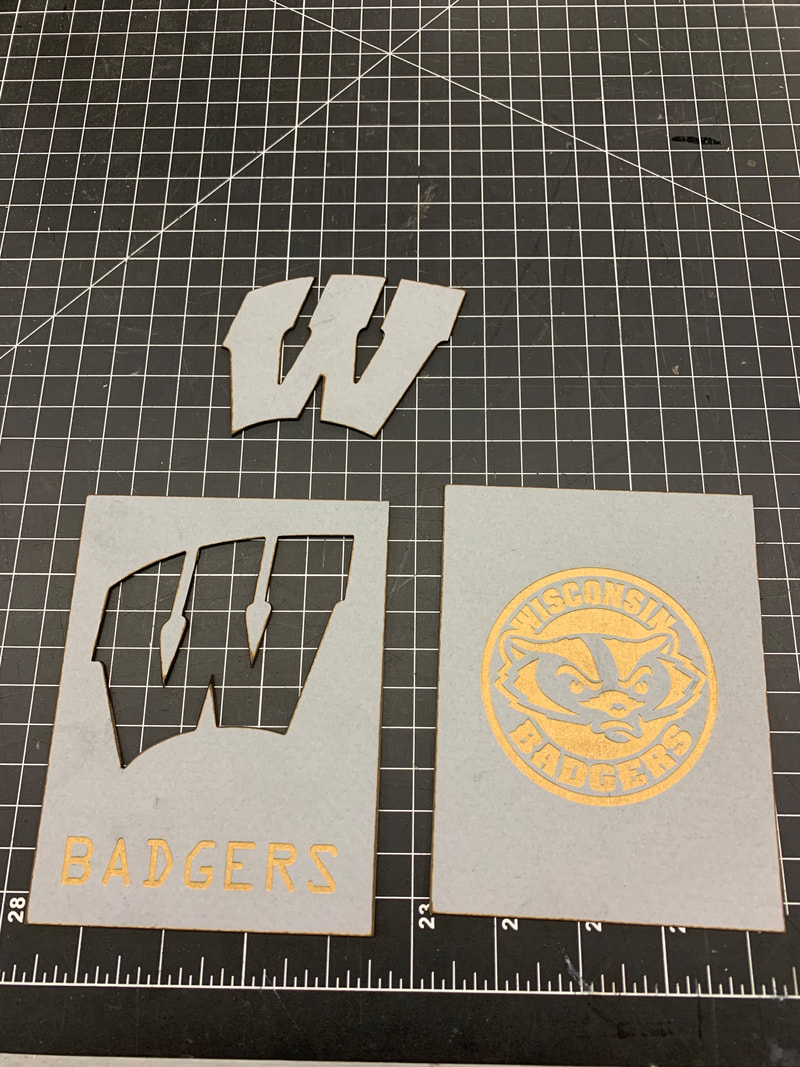
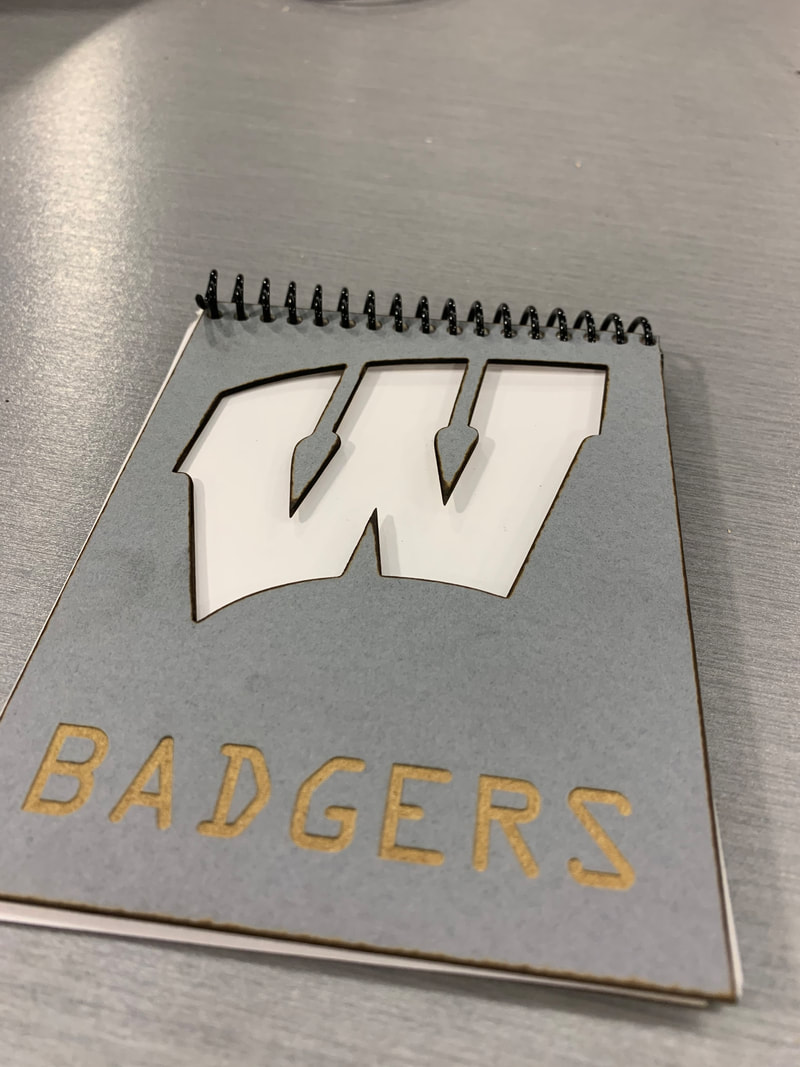
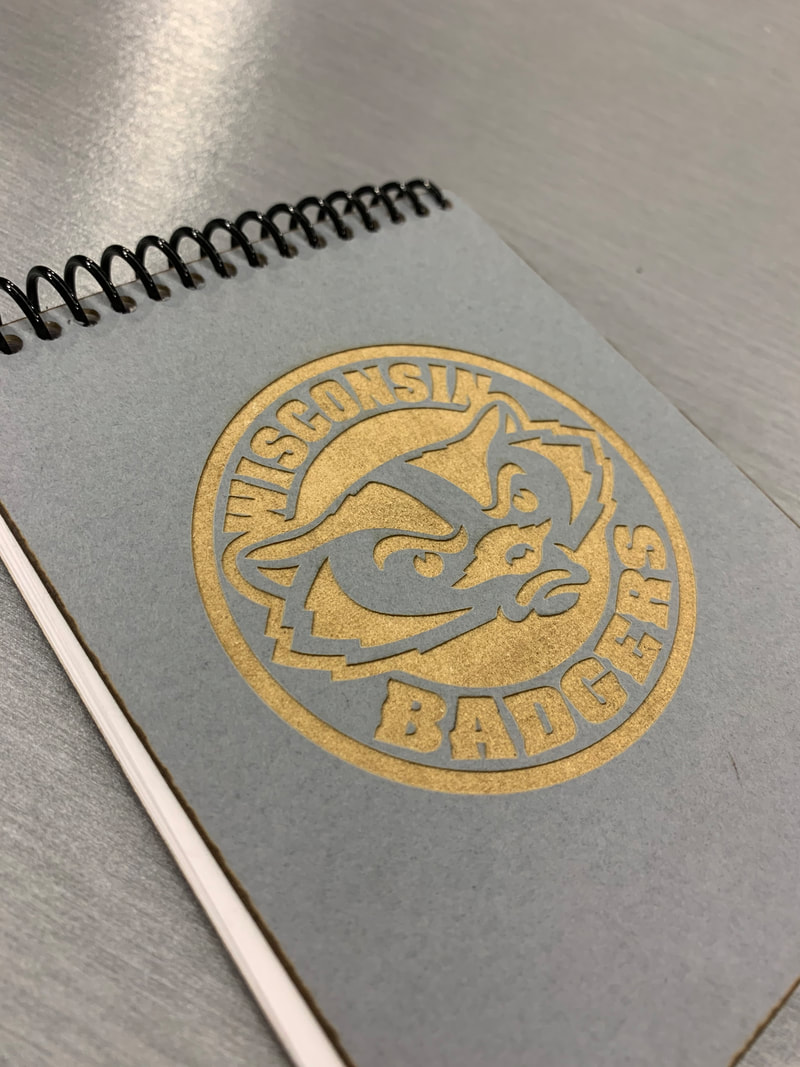
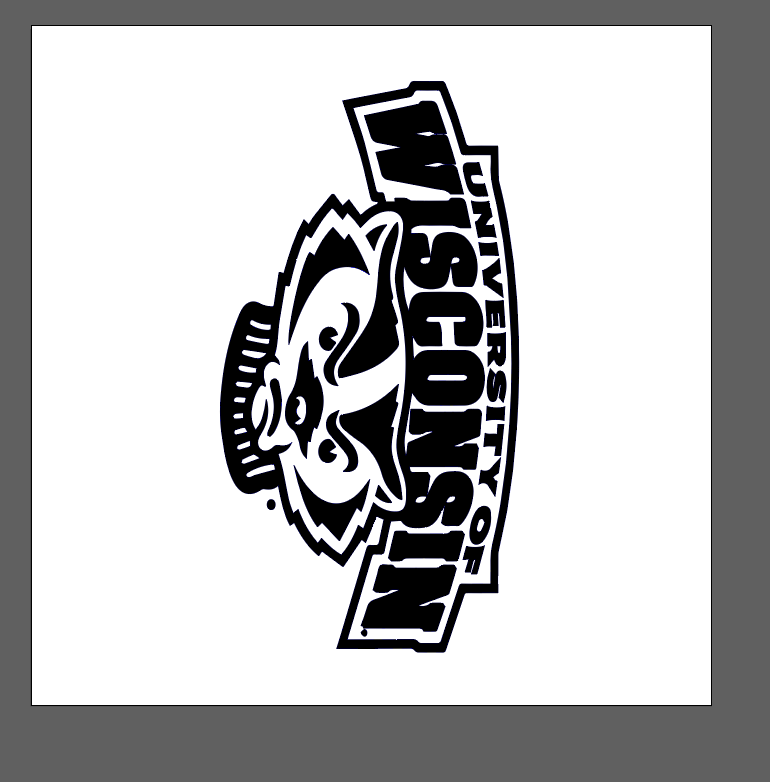
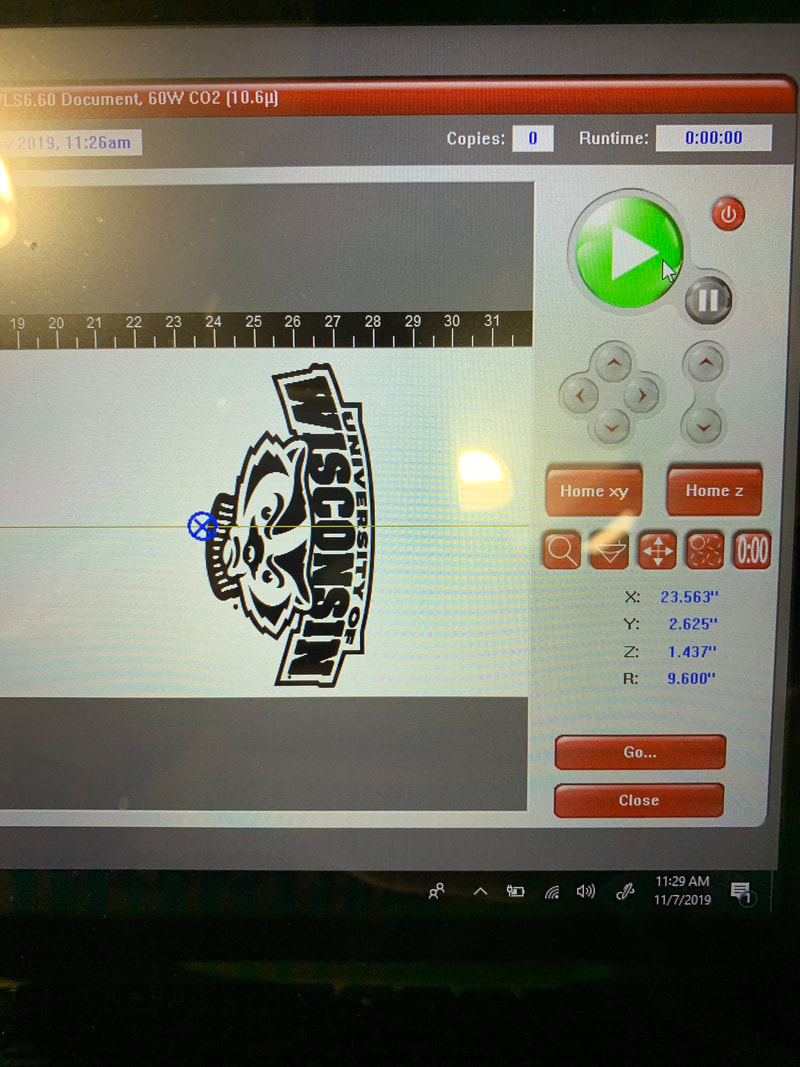
The first part in making the notebook is creating the design in illustrator and make sure we had one cut out and two engravings. I found the Wisconsin logos and made that my project. I then uploaded that file to my flash drive and choose what color I wanted which was a off blue and gray. I put that into the small laser cutter and set up the file in the UCP and started cutting then waited for it to finish. (Insert making it a notebook.)
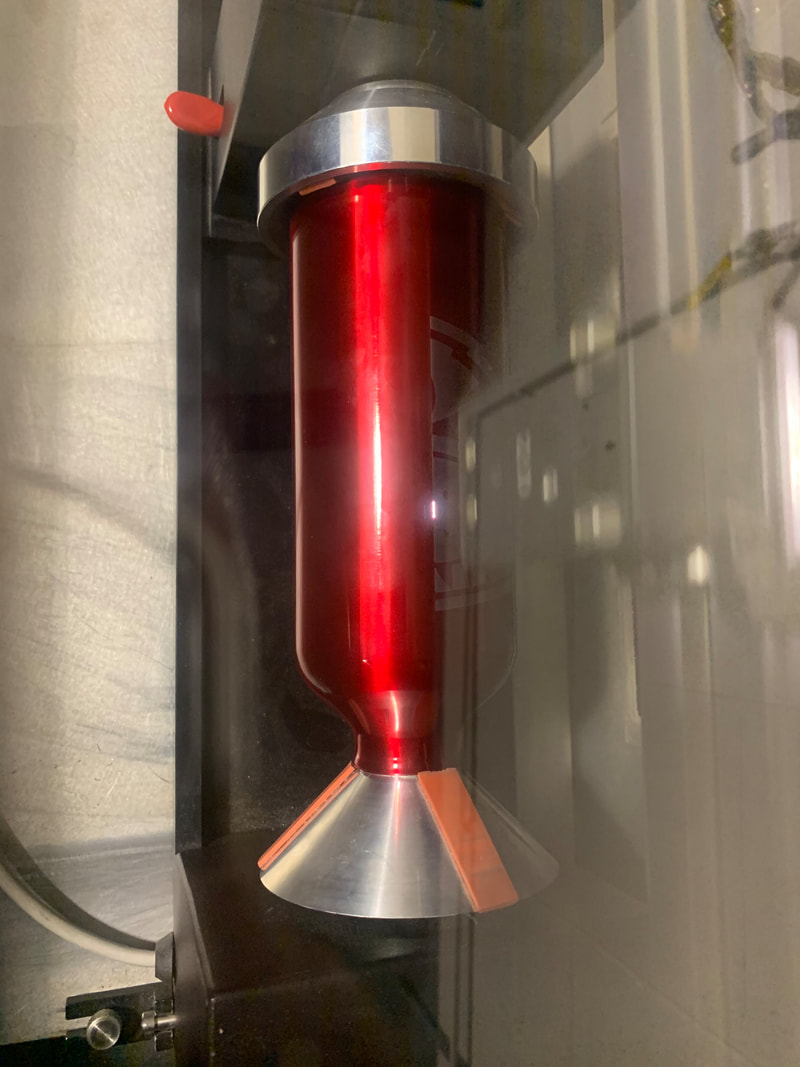
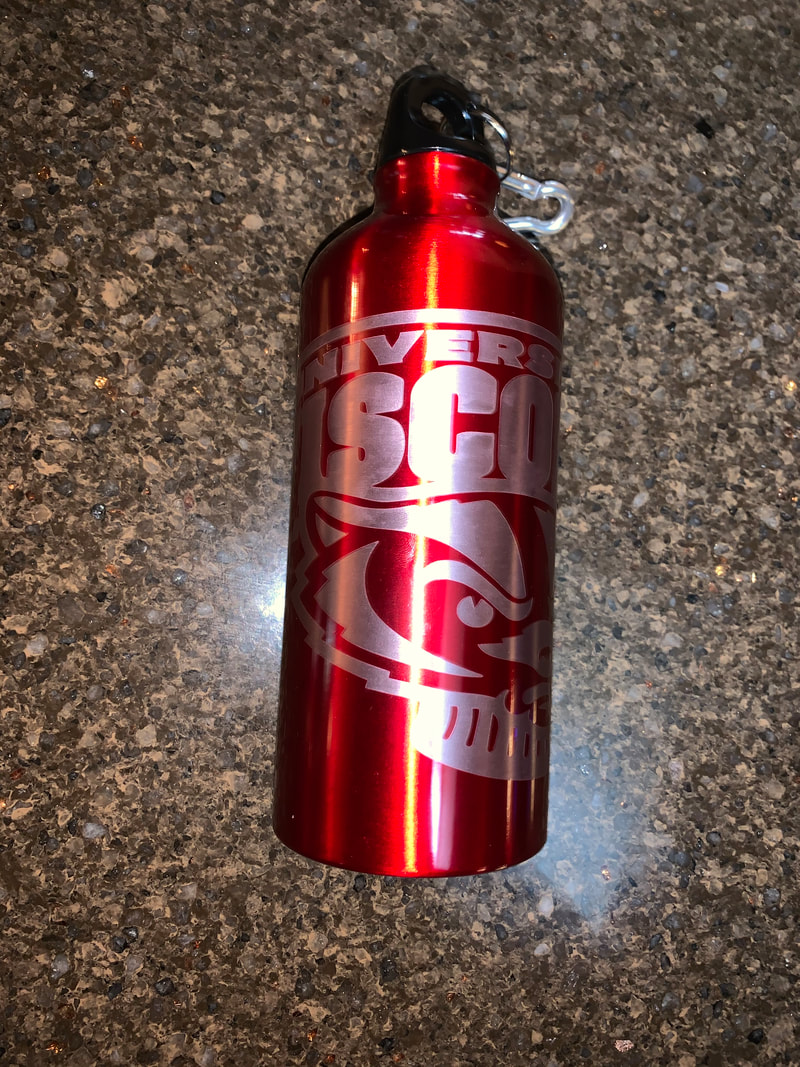
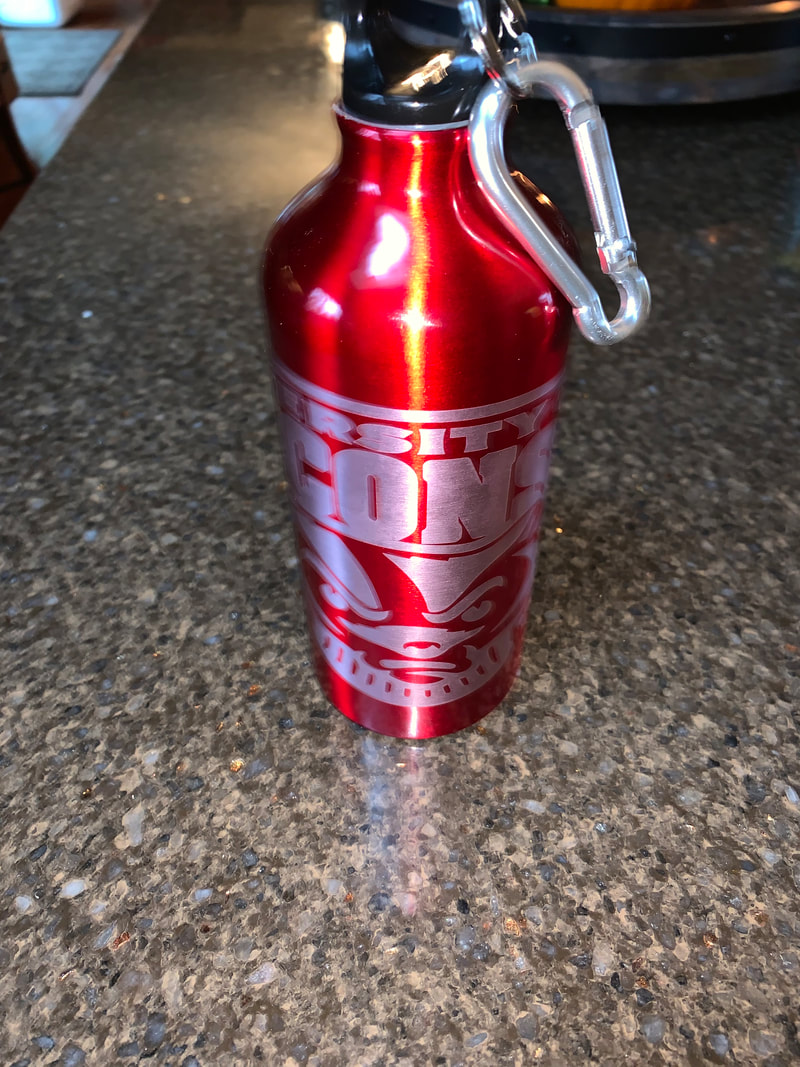
Water Bottle Recipe
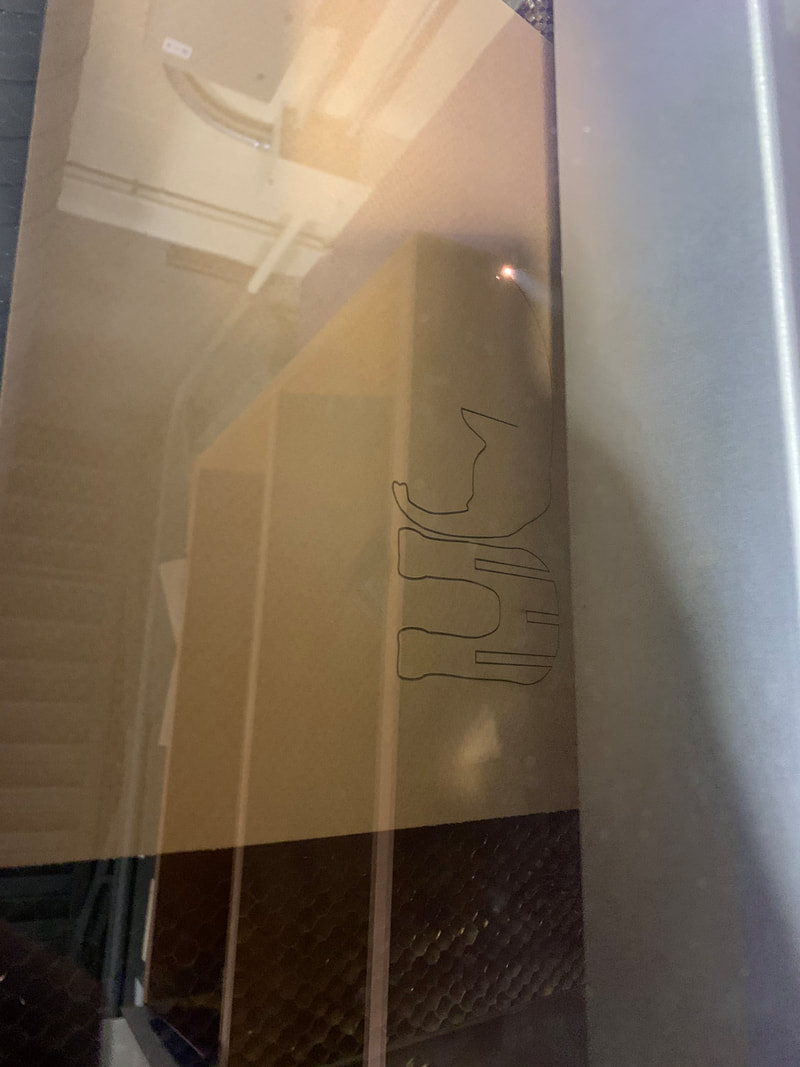
The first thing I did was make a design in Illustrator and I chose again a Wisconsin Badgers logo and made that the right dimensions, then uploaded that to my flash drive and put that in the rotary jig in the laser cutter. I had to make sure the bottle did not wiggle in the jog so the design does not turn out wonky. The laser had to get cranked up the 100% for the power and the speed put down to 40% this way the design turns out more silver instead of pinkish red.
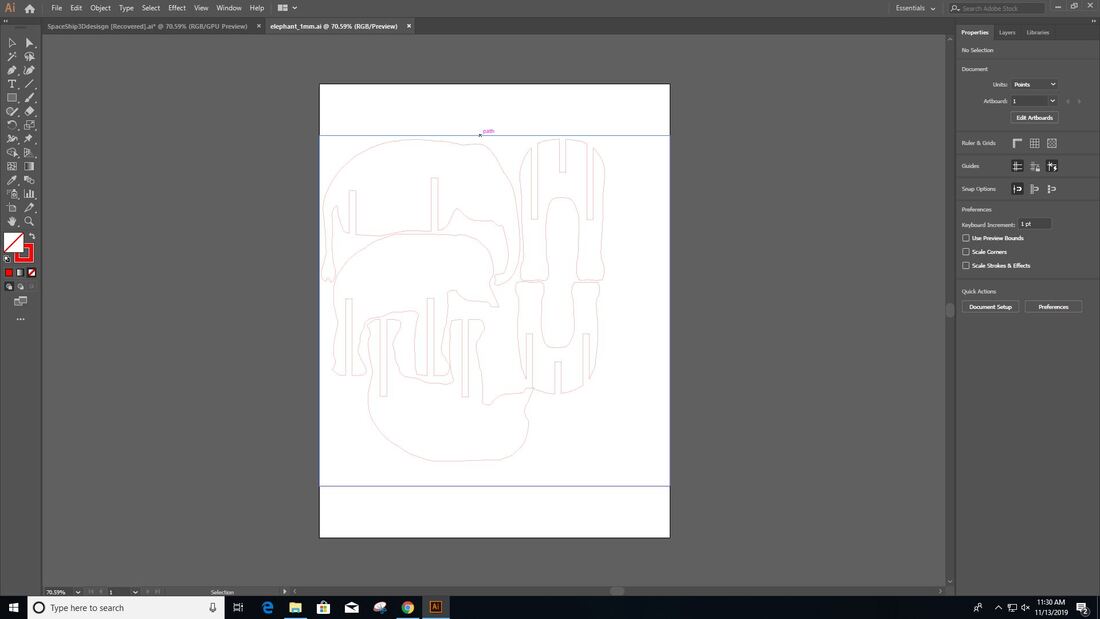
3D Object Recipe
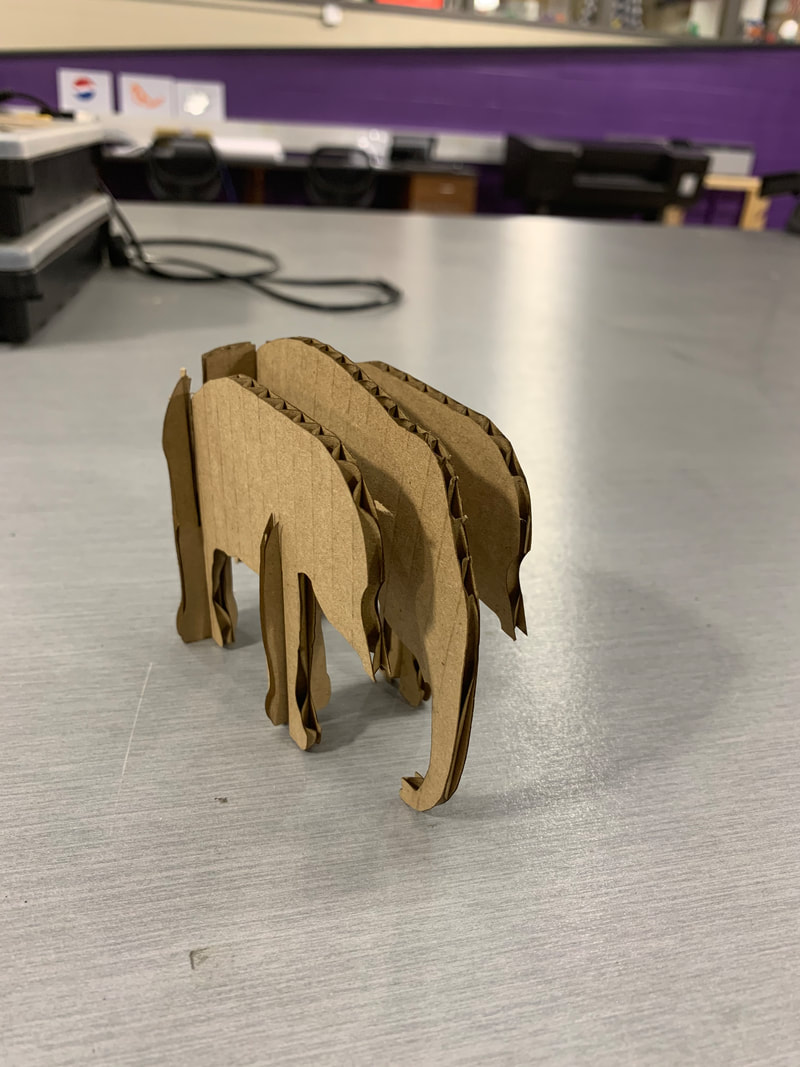
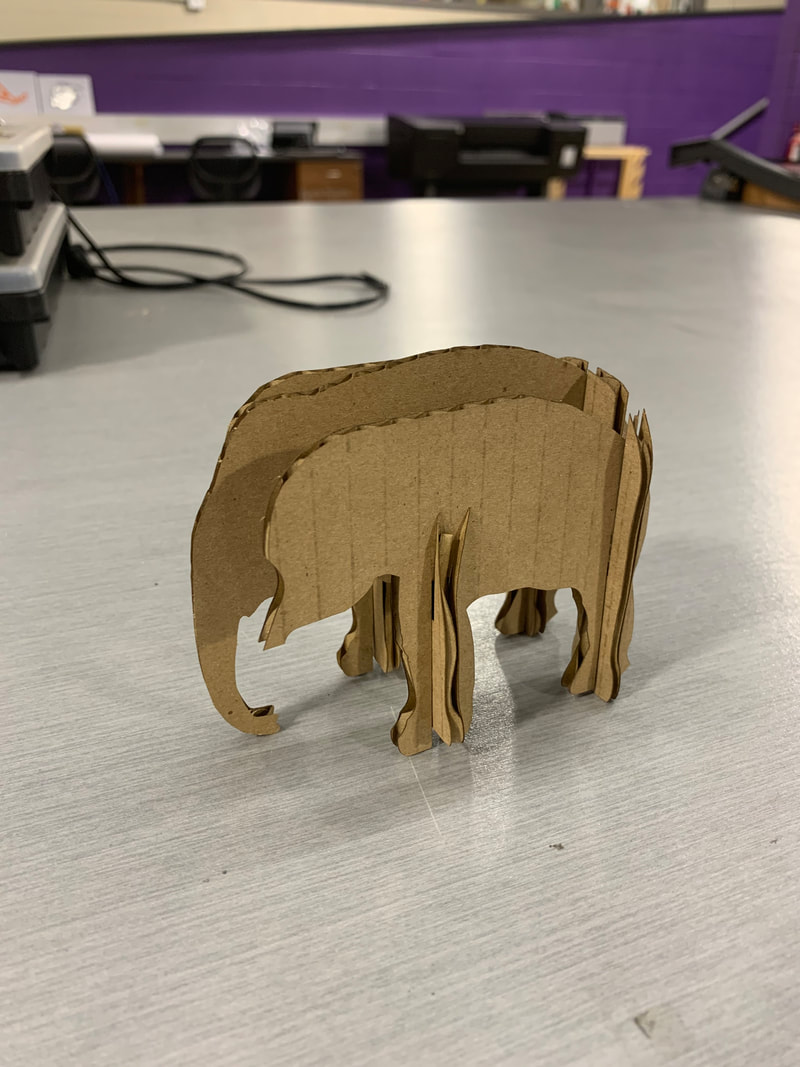
The first step like all the others is either coming up with a design or finding one on the internet (thingiverse). I then have to grab the right material, in my case I grabbed the cardboard and placed that into the laser cutter and set up my project in illustrator and the UCP programs. After I start it I wait 5-ish minutes and then pull the cut out pieces from the rest of the cardboard and start to assemble my project which was a small little elephant.

What I learned
What I learned from this project, is that in this rotation you can not afford to slack off and mess around you always have to be doing something in the class or lab. If you get behind its hard to catch up only in the class time and if your design does not turn out the way you want it to than it turns into a speed for finishing it for the rest of the rotation.
